Stripping and waxing are essential steps in maintaining the appearance and durability of your floors. By removing the old, dull wax and applying a fresh coat, you can restore the shine and protect the floor's surface. In this blog, we will cover the steps for stripping and waxing your floors, including the necessary equipment and tips for achieving the best results.

Step 1: Gather Equipment
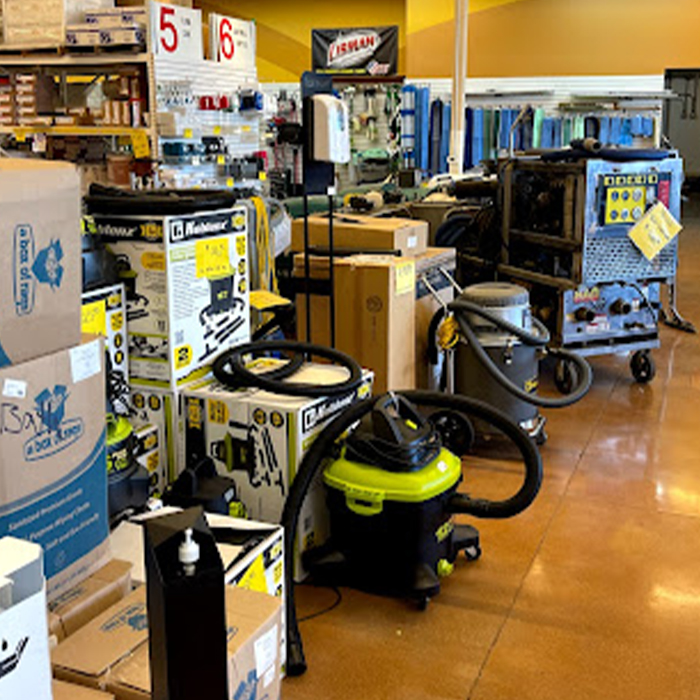
Gather Equipment To strip and wax your floors, you will need a floor stripper, a neutral cleaner, a floor finish, a mop, and a floor finish applicator. Choose a floor stripper and finish that are compatible with your floor type (vinyl, concrete, etc.) and follow the manufacturer's instructions for mixing and application.
Step 2: Prepare the Area
Prepare the Area Remove any furniture and debris from the floor, and sweep or vacuum to remove any loose dirt. Make sure the area is well-ventilated, as some floor strippers have strong fumes.


Step 3: Strip the Floor
Strip the Floor Using a mop, apply the floor stripper to a small section of the floor. Allow the stripper to dwell on the floor for the recommended time, then use the applicator to scrub the floor, working in a circular motion. Rinse the floor thoroughly with a neutral cleaner and a mop, then repeat the process on the next section of the floor.
Step 4: Clean the Floor
Clean the Floor After stripping the floor, clean it with a neutral cleaner to remove any residue. Rinse the floor thoroughly with a mop and clean water, then allow it to dry completely.


Step 5: Apply the Floor Finish
Apply the Floor Finish Using a floor finish applicator, apply the floor finish evenly and thinly to the floor. Start at one corner of the room and work your way to the opposite corner, making overlapping passes with the applicator. Allow the finish to dry completely, then apply a second coat if desired.
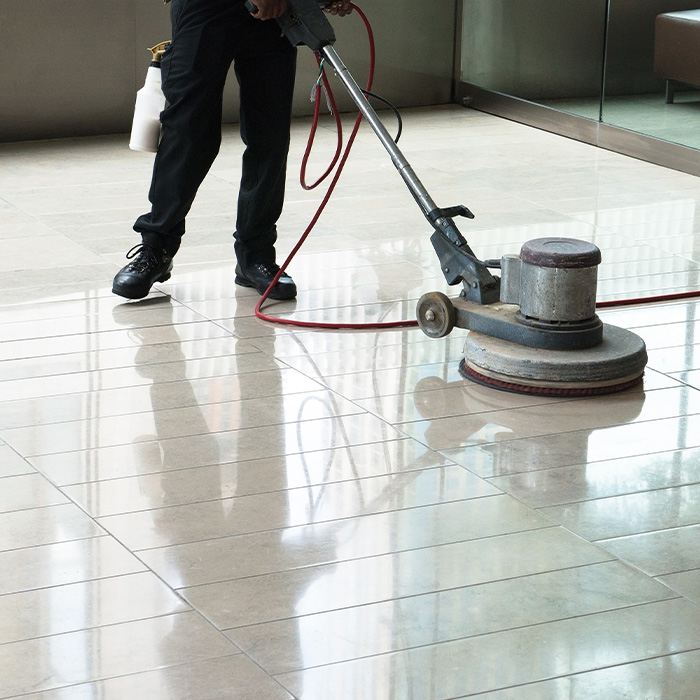
Step 6: Buffing
Buff the Floor After the floor finish has dried, use a floor buffer to buff the floor to a high-gloss finish. A floor buffer will spread the finish evenly and remove any streaks or smudges.

Stripping and waxing your floors is a simple and effective way to restore the shine and protect the surface. By following the steps outlined in this blog, you can achieve a high-gloss finish and keep your floors looking clean and polished.